/Carbon steel tubes/Cold-drawn Welded Tubes
COLD-DRAWN WELDED TUBES
The world’s widest range of cold-drawn welded tubes
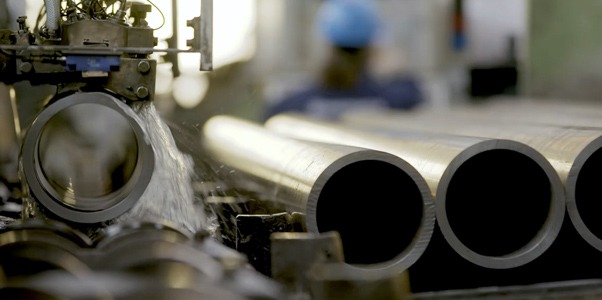
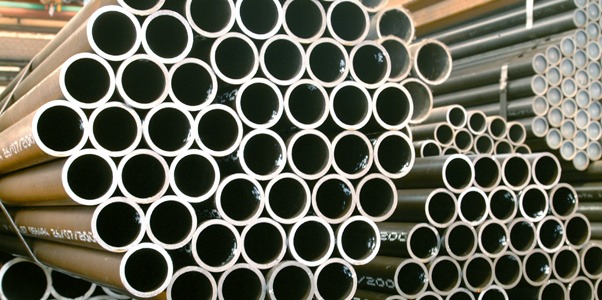
The Marcegaglia Carbon Steel plants in Boltiere (Bergamo) and Rivoli (Turin) produce the world’s widest range of cold-drawn welded tubes, products with extremely advantageous characteristics.
Full body normalizing of the shell stock after welding, in fact, ensures that both the welding and the surrounding areas are metallographically and mechanically homogeneous with the rest of the tube, returning a product with an improved quality surface, reduced eccentricity and greater toughness at low temperatures.
Cold drawn tubes are controlled during the entire manufacturing process with full body ultrasonic tests, to guarantee the high quality standards that are typical of all Marcegaglia products.
Marcegaglia Carbon Steel production is characterized by a dimensional range with an external diameter from 15 mm to 245 mm and thicknesses from 1.5 mm to 15 mm.
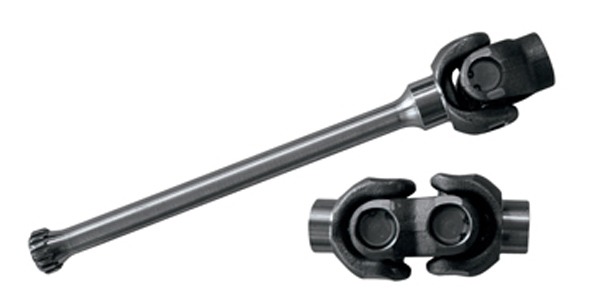
The production range includes tubes for cylinder ready to use H9, tubes for cylinders suitable for honing or skiving & roller burnishing, tubes for cylinders finished H8, tubes for telescopic cylinders, tubes for piston rods, tubes for automotive and mechanical applications, tubes for cardan shafts.
All products are conforming to the manufacturing standard EN 10305-2 in the following grades: E195, E235, E275, E355, E460.
Marcegaglia once again stands out for the variety of its products, suitable to satisfy every industrial sector with different solutions, always guaranteeing high quality standards.
| MANUFACTURING STANDARD |
PRODUCT DESIGNATION |
| EN 10305-2 | Cold-drawn welded tubes |
| SUPPLY CONDITIONS |
|
- Visual and dimensional test 100%
- Eddy current test 100% acc. to EN 10246-3
- Ultrasonic test 100% acc. to EN 10246-7
- Chemical composition
- Impact test
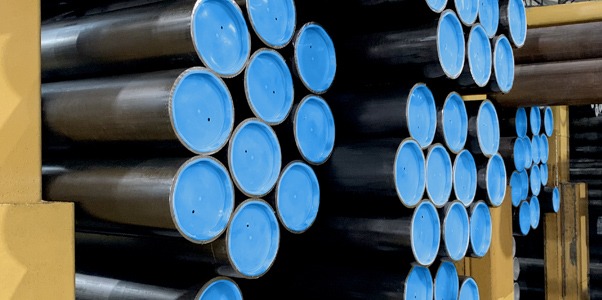
| STRAPPED BUNDLES * | Standard weight: approx. 1.5 tonnes
Maximum weight: 2 tonnes |
* Each package is identified for complete tracking
OPTIONS
- Internal and external oiling, for temporary storage
- Aluminum-plastic foil
- Plastic caps at the ends
- Special packaging for sea shipments
|
EN 10305-2
| GRADE | E355 |
| TREATMENT | +C |
| SURFACE FINISHING | Outside diameter: smooth as drawn (EN 10305-2)
Inside diameter: roughness Ra < 0.80 µ |
| DIMENSIONAL TOLERANCES | Outside diameter: 50% EN 10305-2
Inside diameter: ISO H9 Eccentricity: < 3% Straightness: 1:1000 mm |
| SUPPLY CONDITIONS |
|
EN 10305-1/2
| GRADE | E355 |
| TREATMENT | +SR |
| SURFACE FINISHING | Outside diameter: smooth as drawn (EN 10305-2) Inside diameter: with stock allowance (skiving and roller burnishing) |
| DIMENSIONAL TOLERANCES |
Outside diameter 50% EN 10305-2 Eccentricity < 3% Straightness 1:1000 mm |
| DELIVERY CONDITIONS |
|
EN 10305-2
EN 10305-2
| GRADE | E355 |
| TREATMENT | +SR |
| SURFACE FINISHING | Outside diameter: smooth as drawn (EN 10305-2)
Inside diameter: roughness Ra < 1.6 m |
| DIMENSIONAL TOLERANCES | Straightness: 0,50 mm/m max |
|
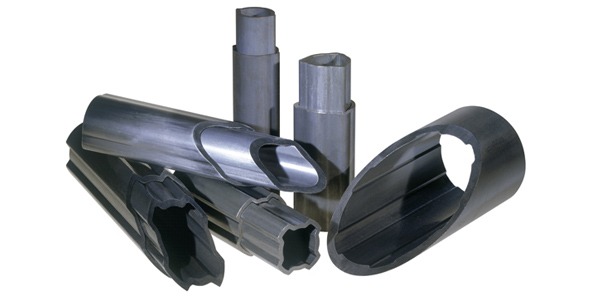
• Dimensions and shapes developed according to customer specifications • Dimensional tolerances upon customer specifications |
 |
EN 10305-2
| GRADE | E355 |
| TREATMENT | +N, +SR |
| SURFACE FINISHING | Outside diameter: with stock allowance (for subsequent reworking) Inside diameter: smooth as drawn (EN 10305-2) |
| OUTSIDE DIAMETER TOLERANCE | ||
| Outside diameter mm | Wall thickness mm | Tolerance (1/100 mm) |
| 20 ÷ 28 | 2,5 ÷ 4 | +0,15 +0,35 |
| 30 ÷ 38 | 3 ÷ 7,5 | +0,20 +0,40 |
| 40 ÷ 45 | 4 ÷ 7,5 | +0,20 +0,40 |
| 50 ÷ 63 | 4 ÷ 7,5 | +0,25 +0,45 |
| 65 ÷ 75 | 5 ÷ 10 | +0,25 +0,50 |
| 80 ÷ 95 | 5 ÷ 10 | +0,30 +0,60 |
| 100 ÷ 115 | 5 ÷ 12,5 | +0,35 +0,70 |
| 120 ÷ 130 | 5 ÷ 12,5 | +0,40 +0,80 |
| 135 ÷ 140 | 5 ÷ 15 | +0,45 +0,90 |
| 145 ÷ 155 | 6 ÷ 15 | +0,45 +0,90 |
| 160 ÷ 170 | 6 ÷ 15 | +0,50 +1,00 |
| 175 ÷ 185 | 7,5 ÷ 15 | +0,50 +1,00 |
| 190 ÷ 200 | 7,5 ÷ 15 | +0,60 +1,20 |
| 205 ÷ 220 | 10 ÷ 15 | +0,60 +1,20 |
EN 10305-2
| GRADE | E155, E195, E235, E275, E355, E410 |
| TREATMENT | +C, +LC, +SR, +A, +N |
| SURFACE FINISHING | Outside diameter and inside diameter: smooth as drawn (EN 10305-2) On request: roughness Ra < 0.4 µ |
| DIMENSIONAL TOLERANCE | Standard: according to EN 10305-2 Special: on request |
| OPTIONAL PROCESSING | Drawing in reactive oil Dephosphating |
